I’m deeming Friday’s as a day devoted to fun and creativity {you can click on over here to see more of my crafty posts}. Although it’s not associated with Creative Thursday, one of my favorite blogs, it’s definitely dedicated to it in true wannabe mode.
Wanna join in?*
Just post a link to your favorite creative craft or comment on what you’re creating right now.
Why add creativity on an inspiration blog?
The two go hand in hand. Without one or the other, I feel like a Mad Hatter. Feel free to read it, skip it, or join in.
Now for the first one.
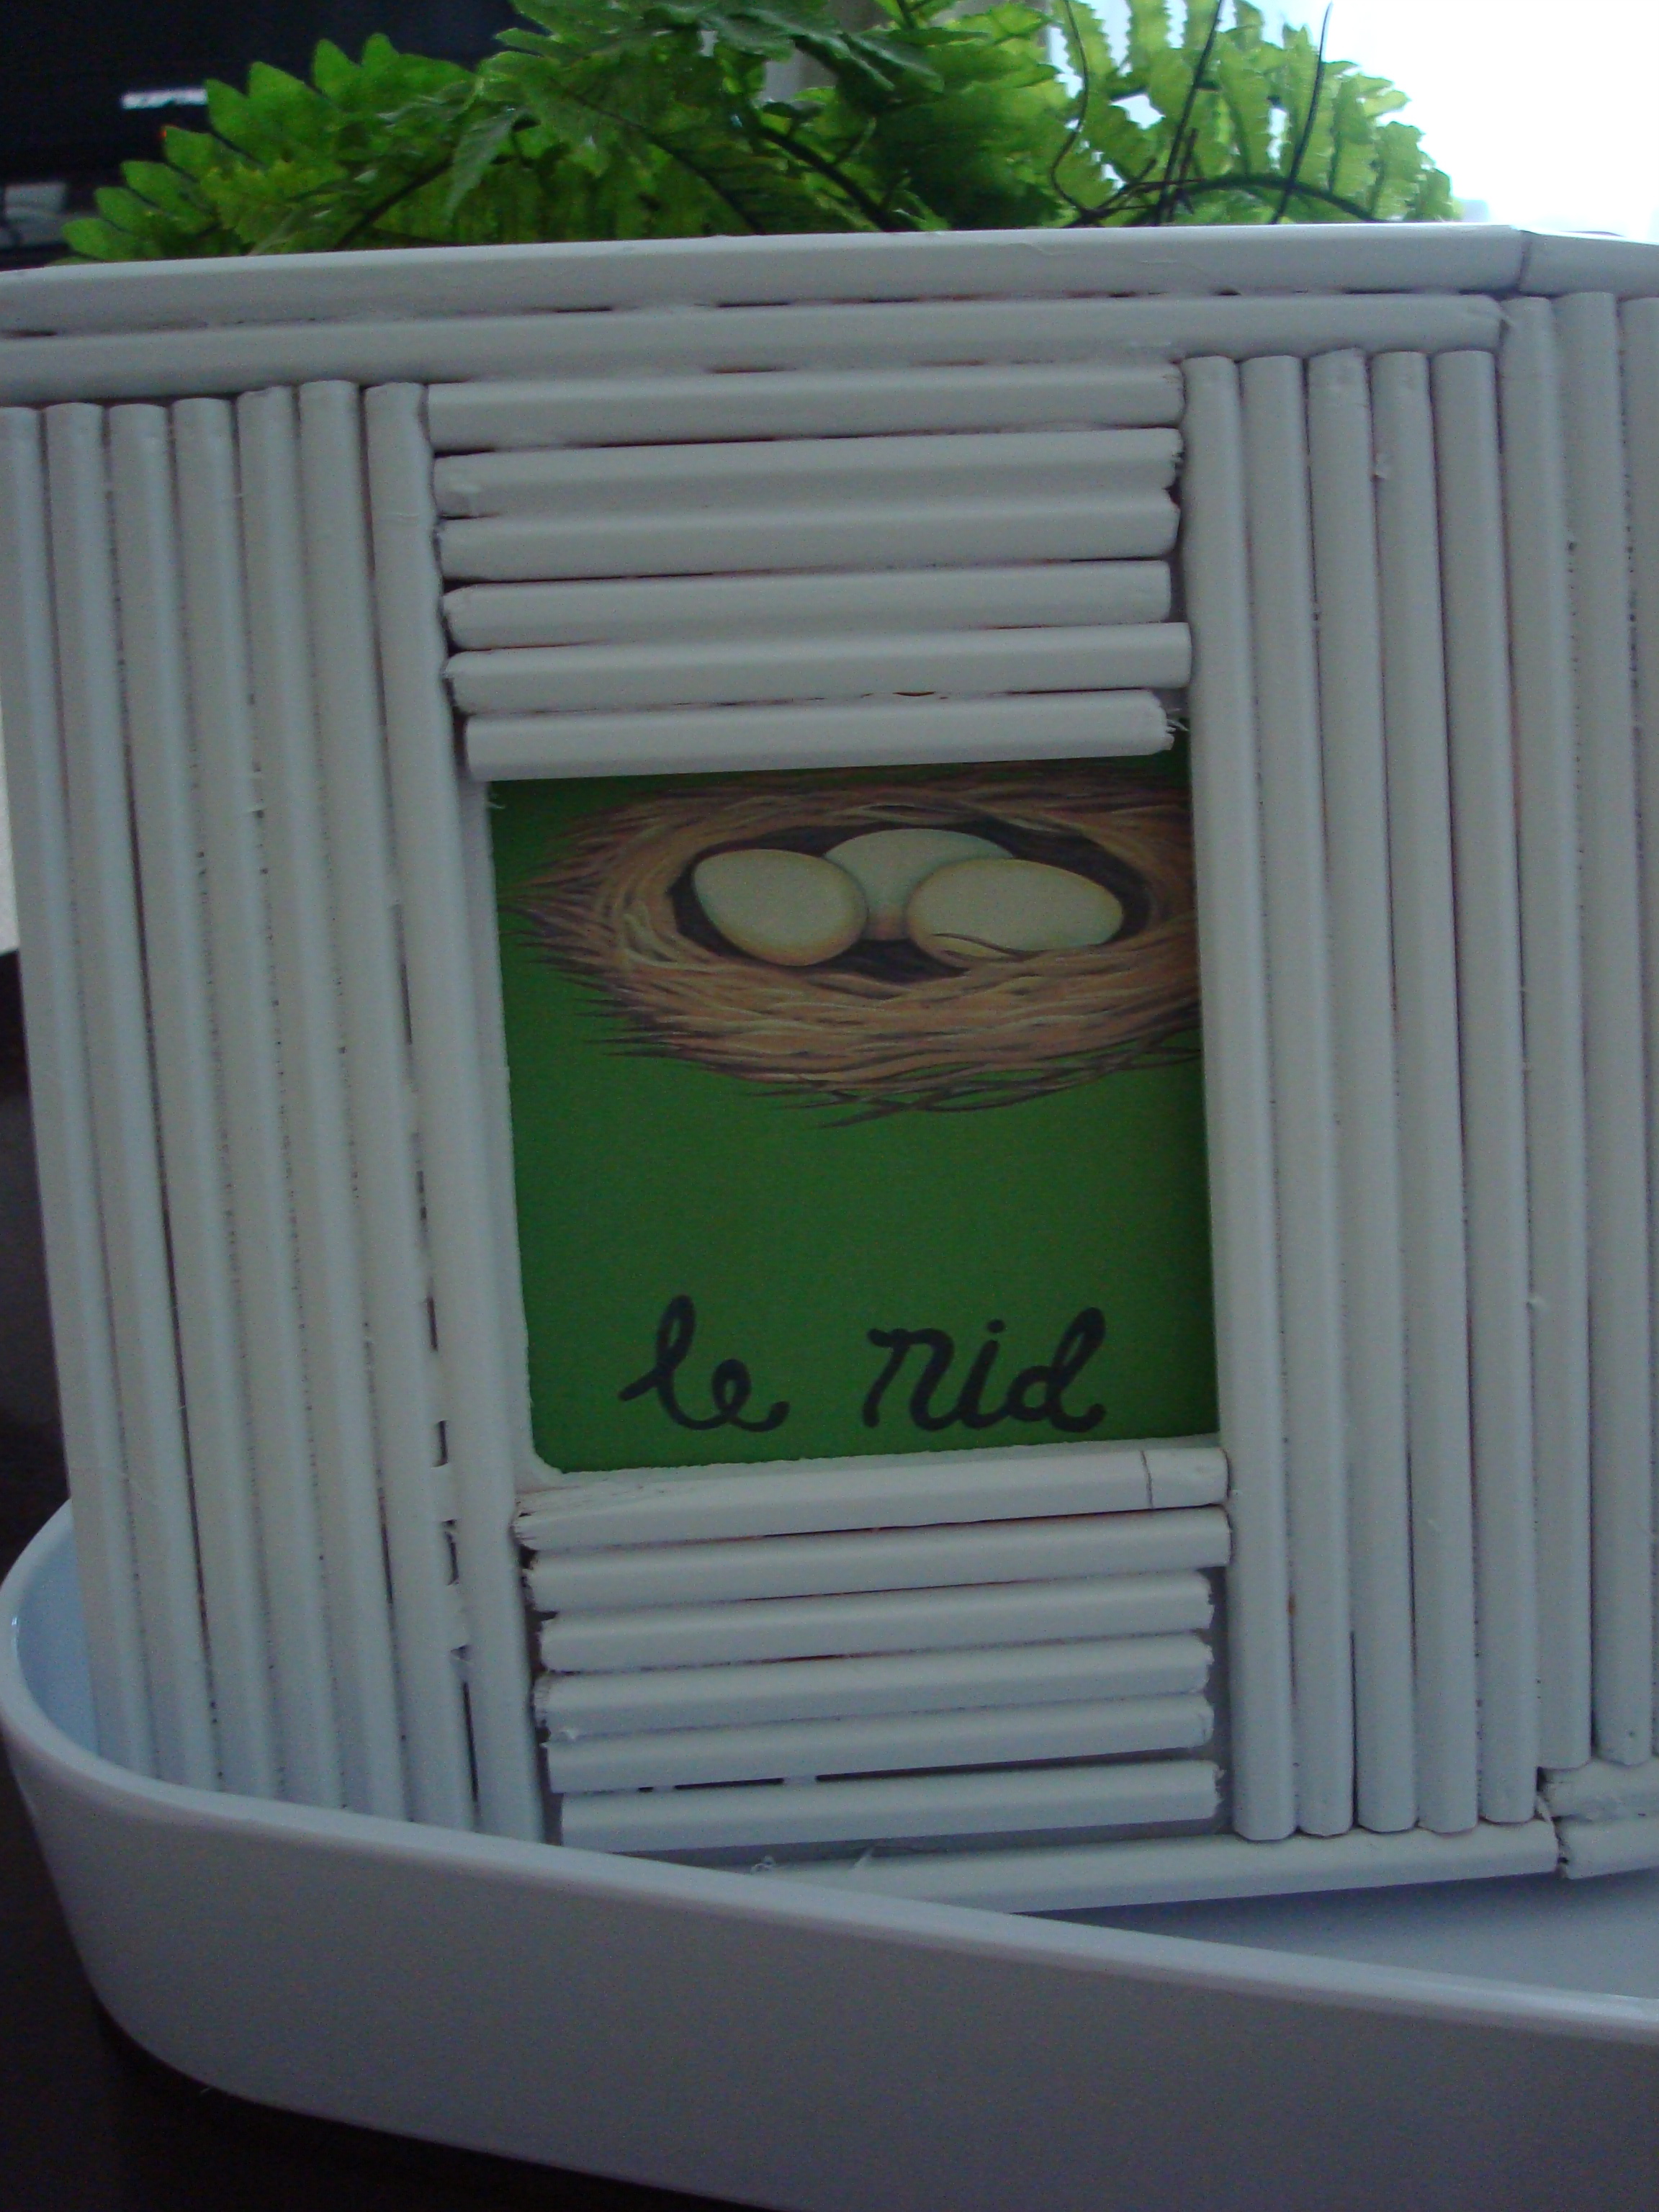
This pencil made frame actually was a bit time-consuming. Just like any project or endeavor to pursue one’s deepest dreams, it was a lot more difficult than it appeared.
The idea came while shopping around at Paper-Source. My light bulb moment came when I saw this:

Then, I grabbed these to get started.

What You’ll Need
- Box of pencils (Grab the color you want your frame to be.)
- Unfinished wooden frame (A 3.5 x 3.5 works best, but any frame will work. Keep in mind though that the bigger the frame, the longer it will take you to finish.)
- Spray paint
- Scissors to cut the pencil length.
- Glue gun
The Steps
- Spray the frame first. It’s much easier to do so at the beginning (before all the pencils are stuck on) and will leave a finished seamless look once it’s done.

2. After the paint dries, individually glue the wooden pencils to the frame. I had no order on what pencil went first. The key is to get as much pencils on there until you need to start cutting them to fit into the square.

Be very careful when using the glue gun. That glue burns worst than melted wax so make sure to place the pencil on a surface instead of holding it with your hands (something I learned in the process!).
3. Cut your pencils to fit snugly against your frame. After you’ve gotten as much of your whole pencils (minus the erasers, which is surprisingly easy to pull off) glued onto the frame, you still need to fill up those empty spaces. You can cut the pencils with scissors. If you’re a perfectionist (that’s not me for sure), you can measure the empty spaces with a ruler first and mark the pencil with a pen before you cut it. In the end, my DIY frame had a woodsy, cottage-y (a.k.a. imperfect look), which perfectly matched what I wanted.
4. If you want your frame a different color than your pencils, get ready to paint again. After all of your pencils are glued on and dried, take it outside, place newspaper/old magazines on the ground or a table and spray paint away.


I experimented with a few options for what to put in the frame. I was contemplating adding a photo from my photo site. But since I’m into instant gratification, I started digging around my house for something I could use.
 Like this Ikea print, for example. It was an option, but I just didn’t think the modern print matched the cottage-y look I was going for. That’s when I found this…


I have to say, I can’t be any happier with the results!
*If you want to read about how one full-time editor took a leap and pursued her full-time freelance dreams, click here.
2 responses to “Creative Friday”
I like the frame, Brandi! It’s like shabby chic … only better, 🙂
And the Creative Friday idea is excellent, too. I’m working on writing a novel and revising another. Some days are more productive than others, 🙂
Thanks Mahesh! You’re too kind. =) I think that’s awesome you’re writing a novel. Oh I admire you and Natalia for being so courageous and tackling a book. It’s my dream that I hope to pursue too one day. Good luck! And would love to hear an update on that book every so often on what you’re doing and how it’s been.