Thanks for returning for part II of this post. This week I’m tying up loose ends and revealing all of the brunt work it took to recover my recent true love-an antique 1950s Royal typewriter. Let’s get started shall we?
Since I had no way of knowing how to update this ugly outside cover, I had to do what I know. And what I knew was 20+ years wrapping presents. I wrapped that sucker like it was a gift I was giving someone for Christmas.
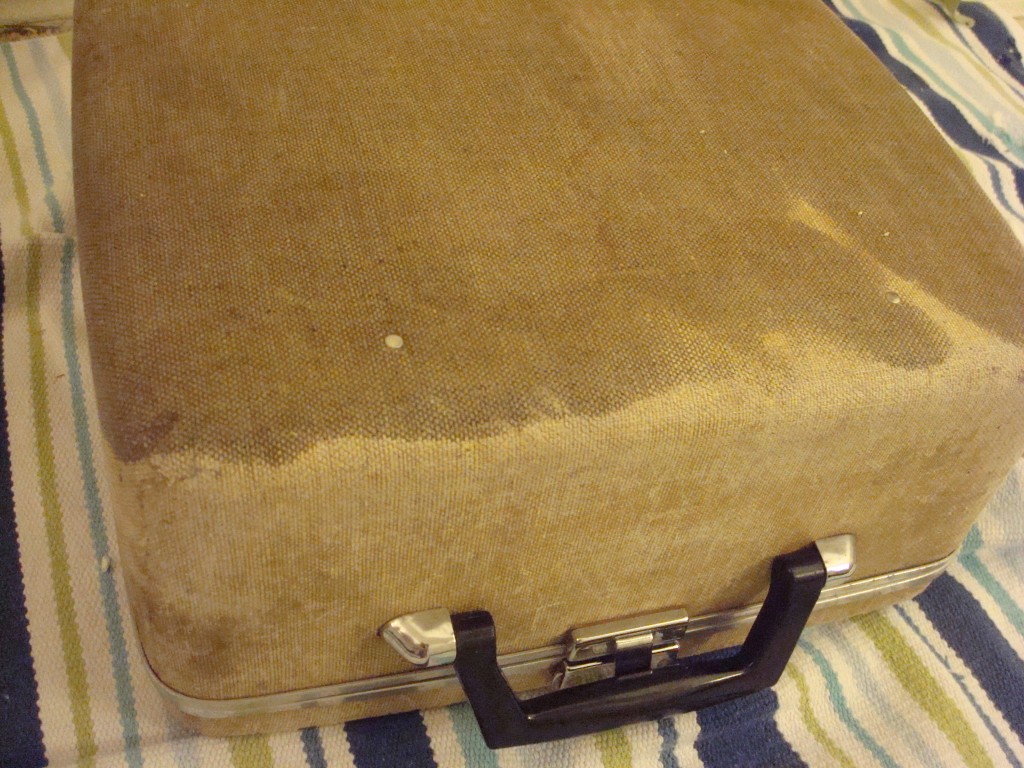
That took care of the first side, which was pretty easy.
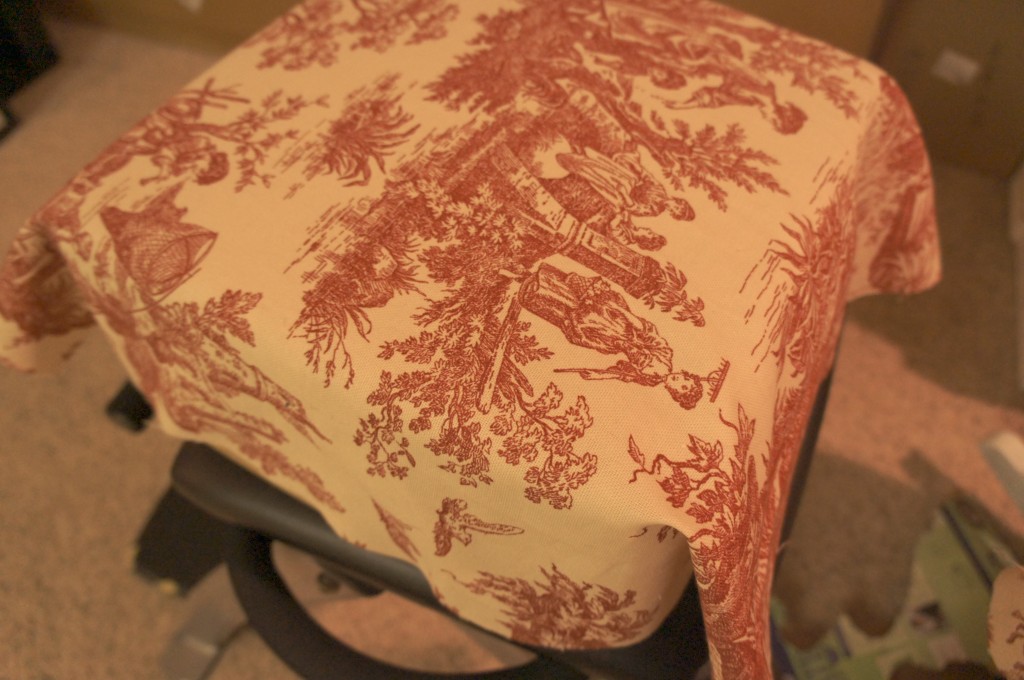
I just cut the fabric so that I’d have extra room along each side of the case.
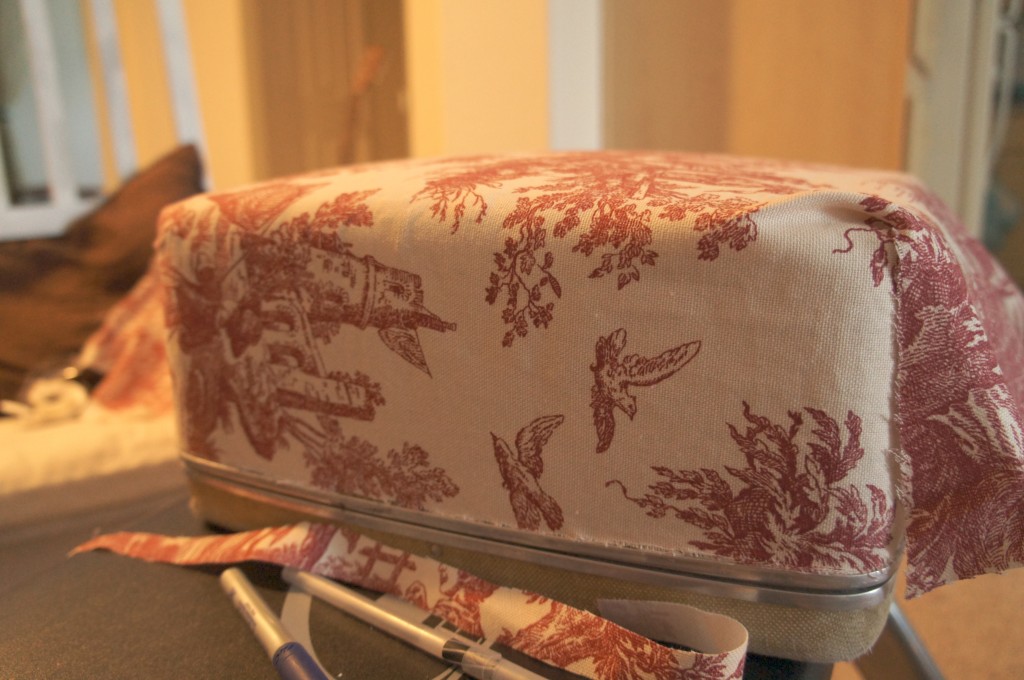
Then, I glued the case and pressed the fabric onto it. To create a seamless edge, I flipped and folded over the fabric as close to the edge as I could get it. I used painter’s tape to seal it in good and tight.
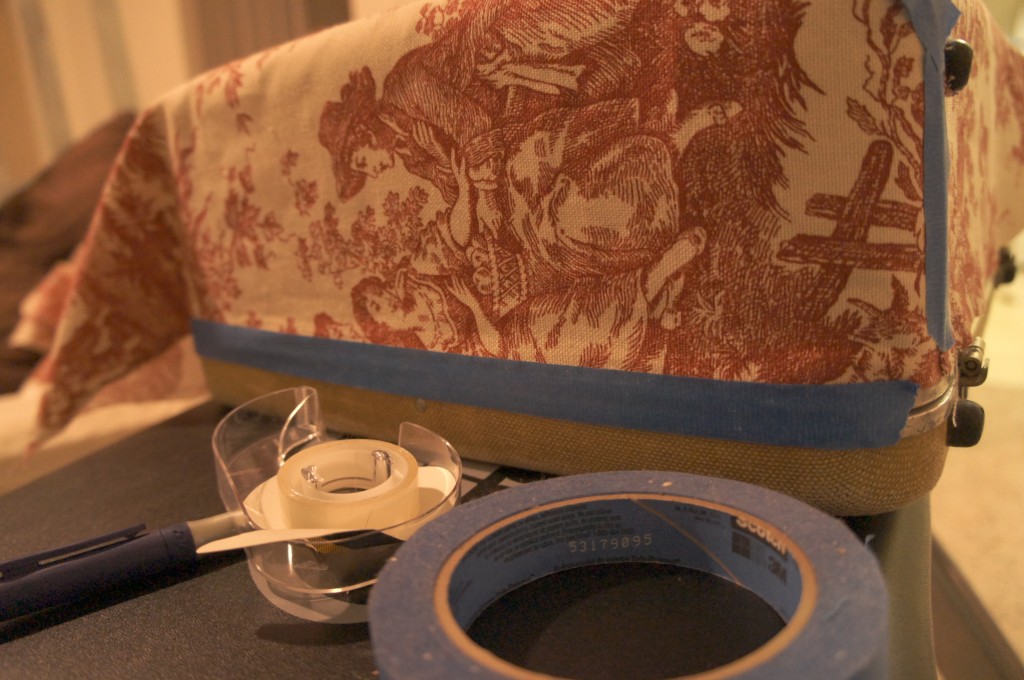
The two sides and the bottom of the typewriter case were easy because they didn’t have any hardware. I just folded them like presents.
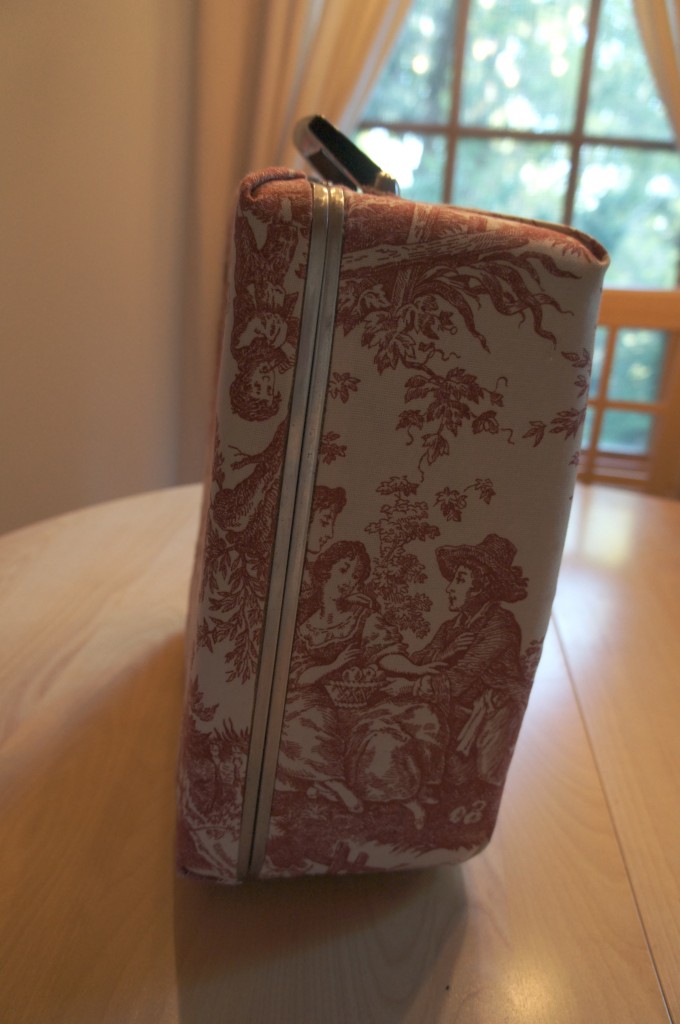
What was hard was doing the sides that had hardware on it. Because I couldn’t figure out how to loosen what looked like old metal staples inside of the case, I had to work around it. I was a little freaked out at this point. It’s like any hurdle you have to overcome – you doubt whether you’re doing the right thing, you wonder if you have the insight to keep going. Okay I know it’s just a typewriter cover, but these things swarm in your head when you’re crafting and trying not to mess up something you’ve wanted forever and spent $30 for.
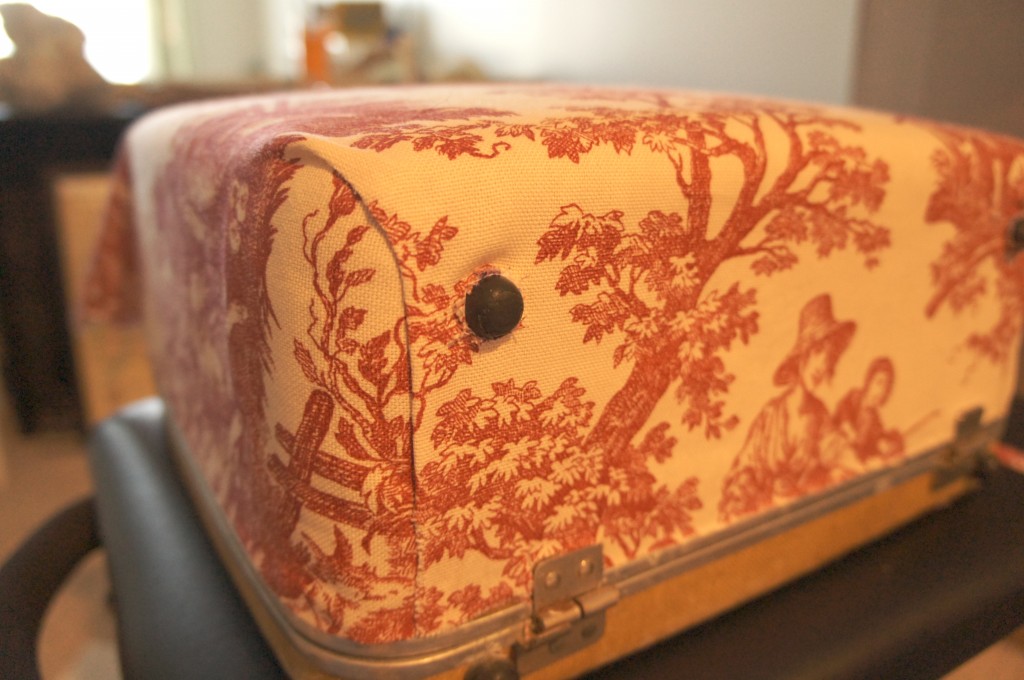
Type A personalities and perfectionists look away.
Because I’m not all that precise or scissors savvy, I placed the fabric over these rubber stoppers and drew a circle with a permanent marker over them. I did my best trying to make as small of a hole as I could (you know because you can make small holes bigger, but not the opposite right?). In the end, they were a little small and I had to pull apart the fabric a little so they got frayed. But if you don’t look too close, I think it looks okay.
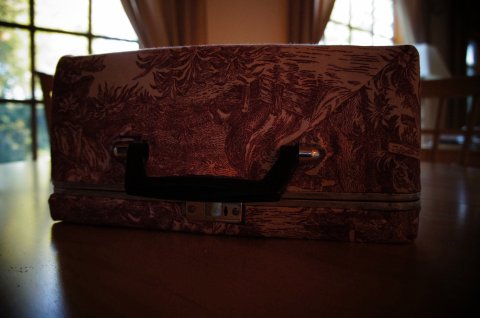
The hardest part was the front with all its difficult hardware. I made a lot of mistakes here-holes were too big so I had to recover the holes with extra fabric and the edges were not nearly as seamless as the sides. It was a struggle to cut out the fabric exactly where the handle was and it shows. But in the end, it wasn’t nearly as bad as I thought it would be. And as I’ve said before, imperfection is sometimes a good thing. Since this one is going to sit in my home for a long time, I’m going to appreciate it just as it is. Flaws and all.

Have you done anything you’re particularly proud of, flaws and all?
3 responses to “Creative Friday: Recovering a Vintage Typewriter”
I’m far from being a perfectionist, so I think it looks fantastic! Awesome job! 🙂
Aw thanks Crystal! I’m happy with it too bumps and all.
[…] a month I release my inner bad boy and create just for the sake of it. Sometimes what comes out is beautiful, other times I need to try again. But exercising my imperfection muscle is always worth it. It […]