I’ve been enthusiastic about pulling together this DIY project since I caught wind of it at an antique shop in San Francisco.
A framed set of real butterflies were beautiful and elegant and oh so vintage. I almost bought it. That is, until I saw the just as impressive price tag. At over $100 per frame, I was flabbergasted. Then, I said those famous words that always gets me in trouble: “I think I can do it myself.”
A trip to Paper-Source and Michael’s later and I had all the materials needed to get this project started.
Here are the materials:
- One Butterfly Magnet Set from Paper-Source at $13.95.
- Two white 6×8 in shadow box frames from Michael’s at $4.19 each. They were 25% off each so I paid about $6.28 for both.
- Scraps of leftover craft paper = $0.00
- Double-sided tape = $0.00
- Scissors = $0.00
Total cost: About $20.23 for two framed butterflies.
Not bad.
How I did it:
I took these two shadow boxes.
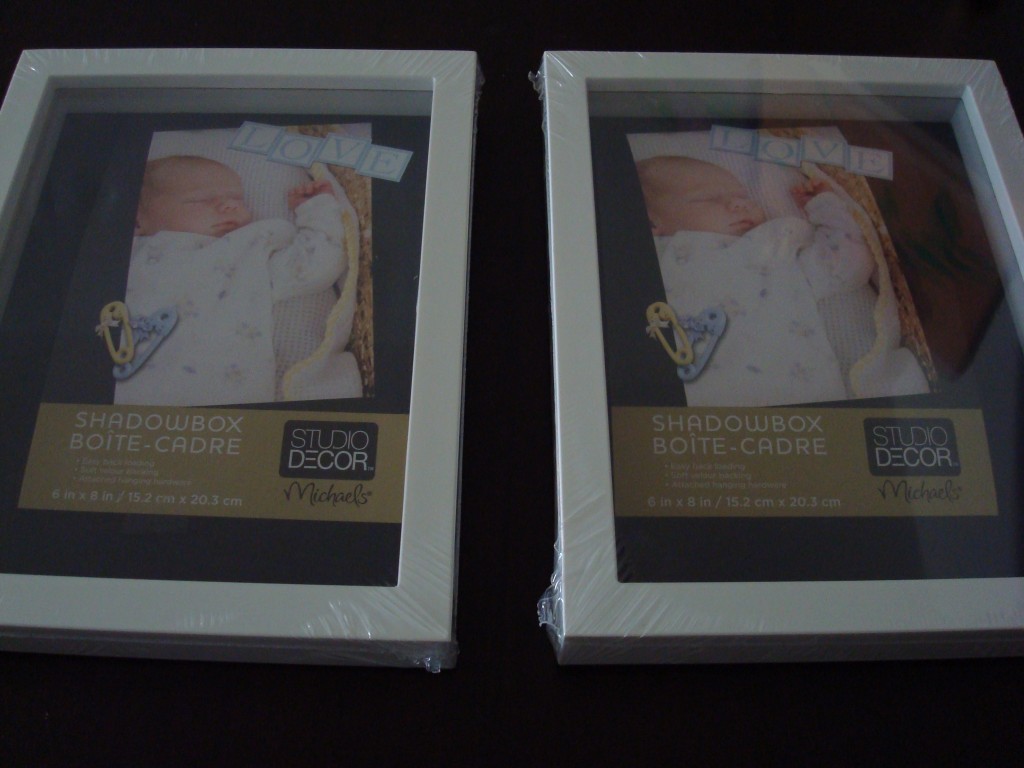
And unwrapped them from their cellophane blankets.
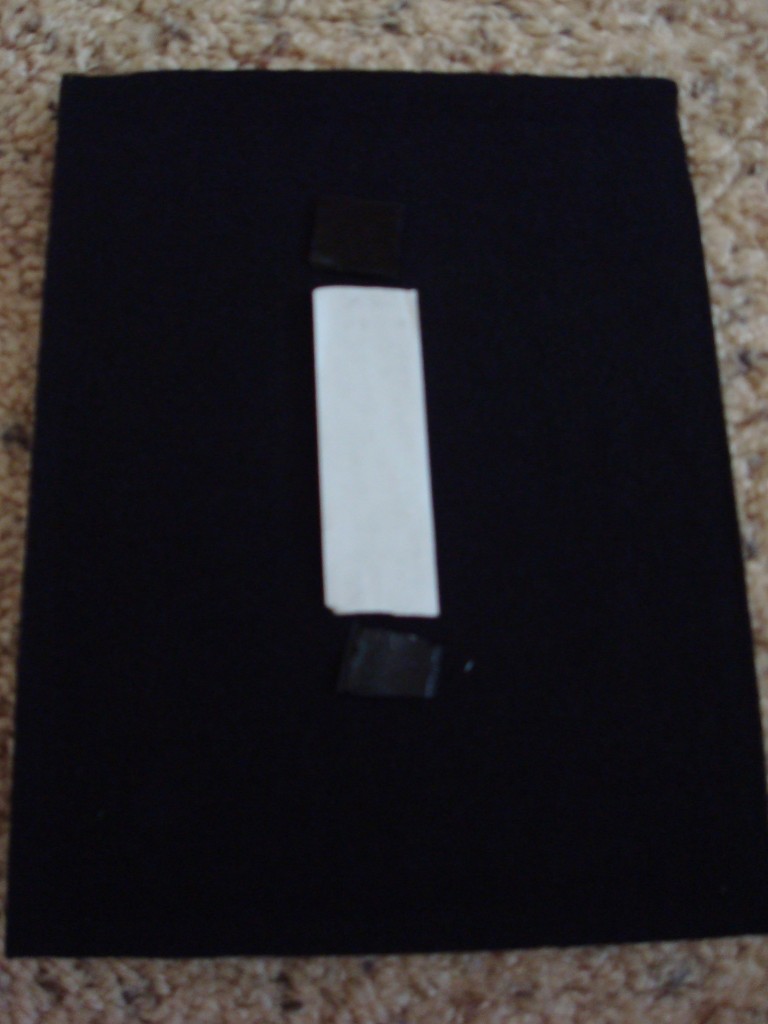
I was pleasantly surprised when I opened it and saw this. The soft velvety background came with two sticky tapes and a velcro middle.
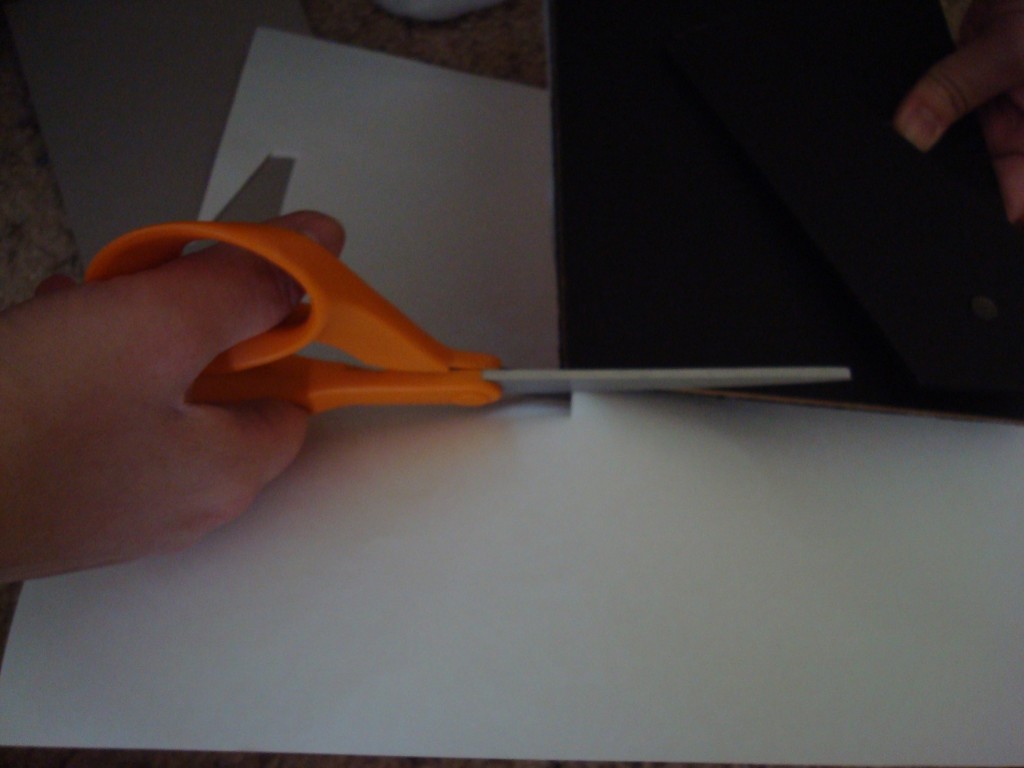
Great for sticking craft paper to as an anchor so I could easily cut around it. Another thing that made this craft easy is that you don’t have to be good at cutting for this project. Anyone else feel inadequate in the cutting straight area?
In this case, since the frame hides most of the paper, if your cutting is crooked or if you made a mistake and cut a little too much around the borders it’s okay. In fact, the more paper you cut, the better. That’s because the paper needs to fit inside of the frame. Any extras and your paper will get scrunched when you close the back of the frame.
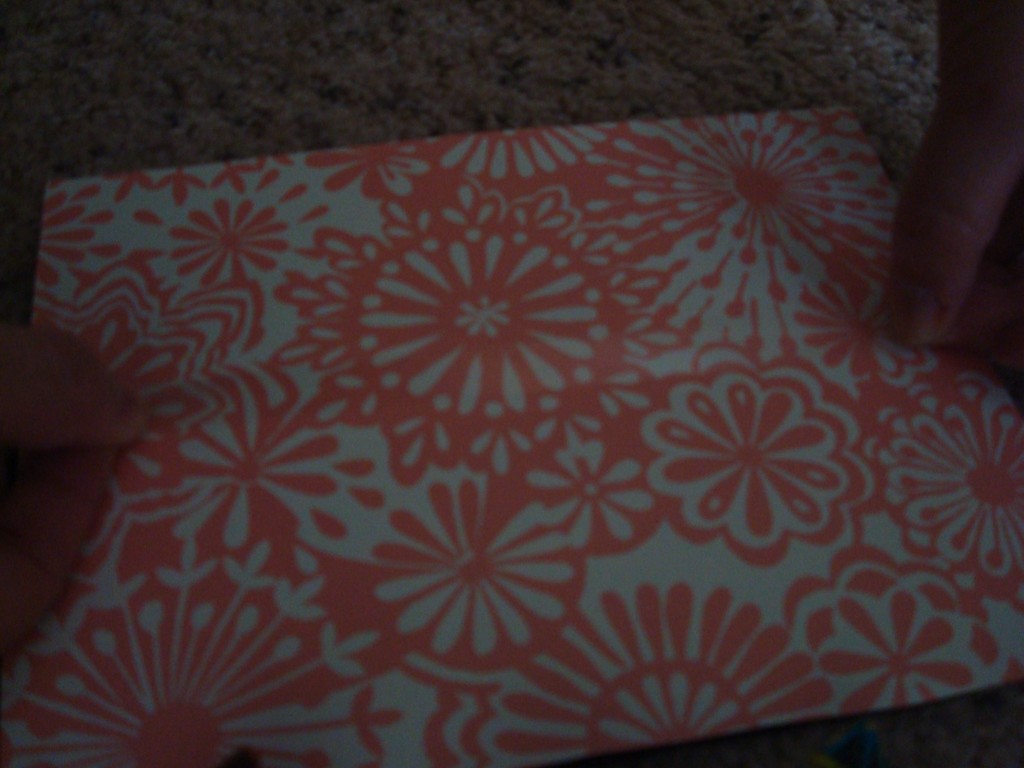
Next, I grabbed two-sided tape. I pulled just enough tape so that it would cover most of the paper vertically. Then, I stuck the tape lengthwise in the middle of the paper.
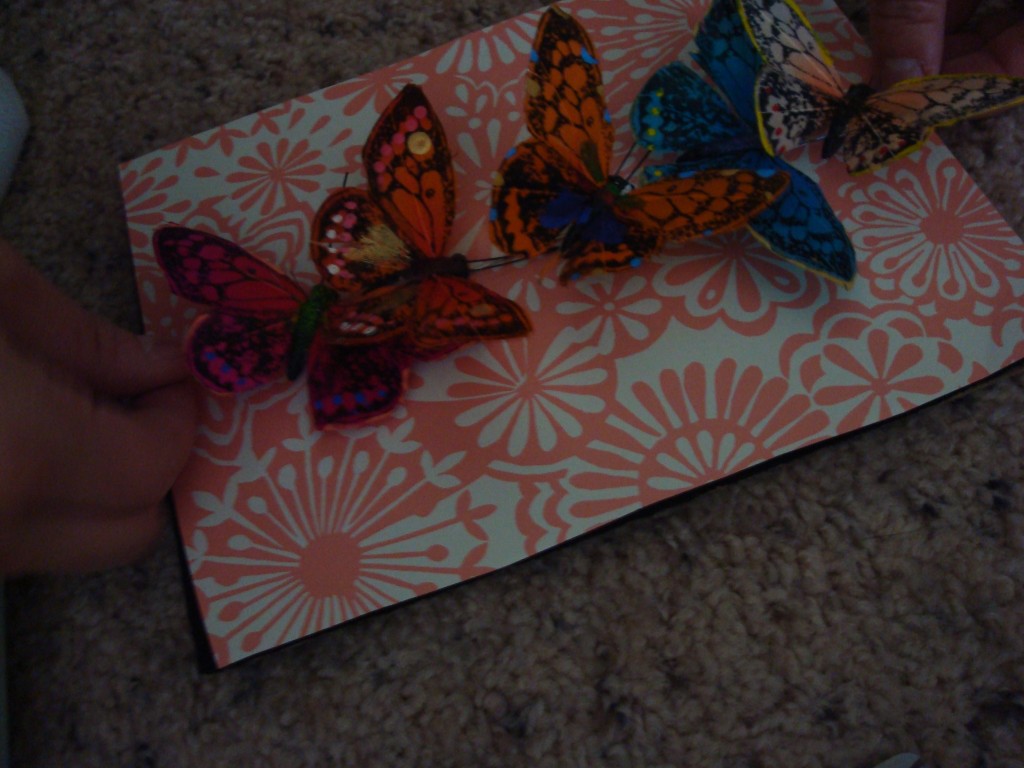
After, I took the tower of magnetic butterflies already stuck to its own vertical metal stick and placed it onto the double-sided tape. I had to cut about an inch off the top of the metal skewers and a few off from the butterfly antennas so that it would fit inside of the frame. But that’s it! So easy, it’s ridiculous!
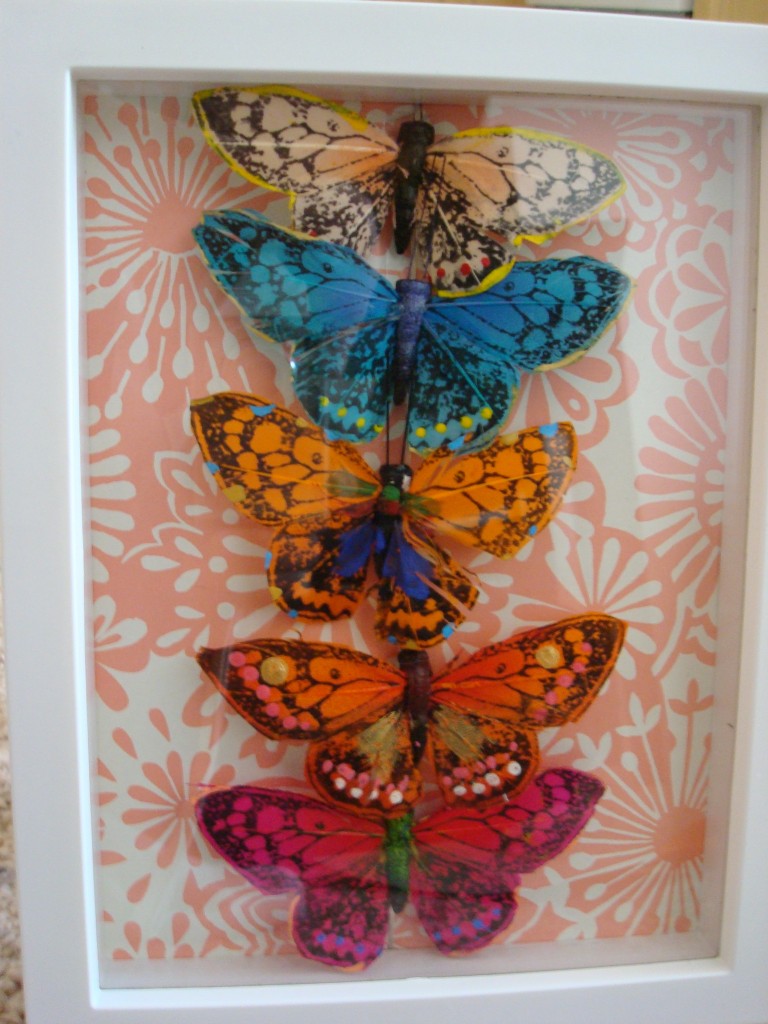
Here’s one of them.
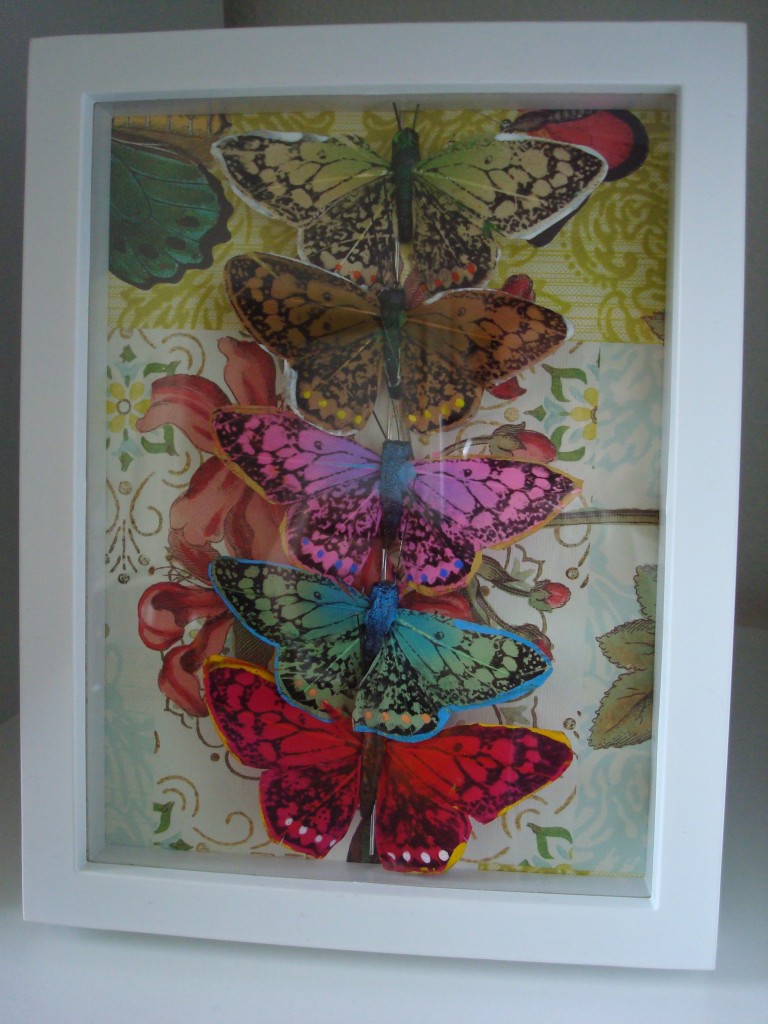
And the other…
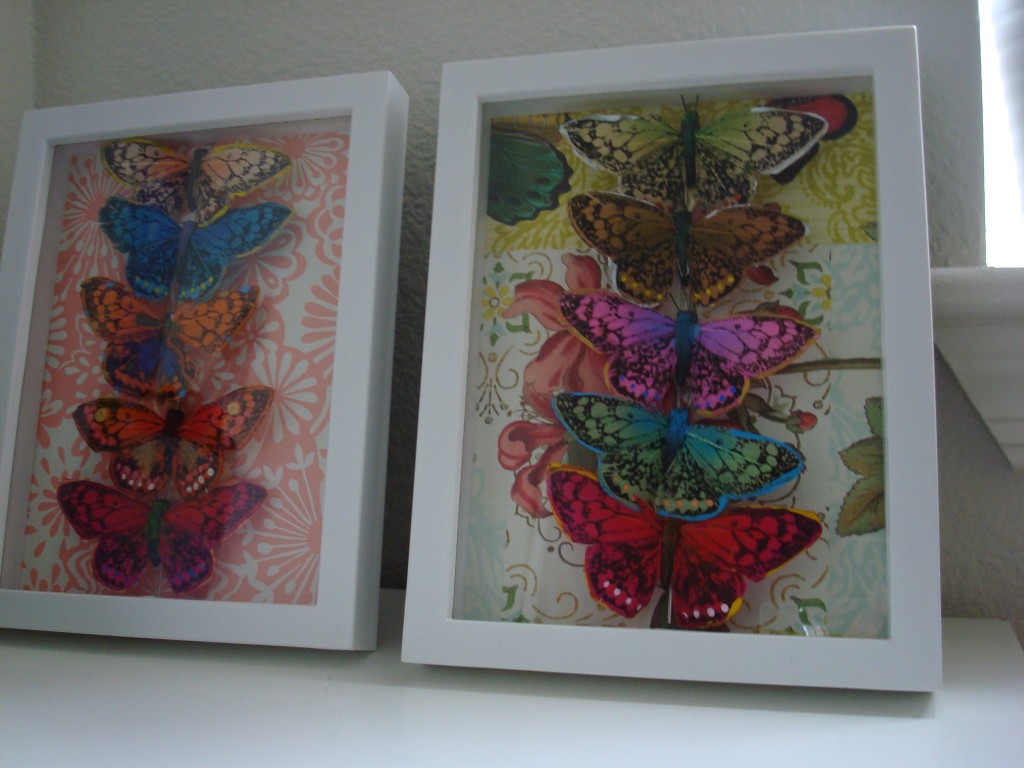
What have you been crafting lately?


Creative Friday: Home Office Ideas | The Inspiring Bee
June 14, 2013 at 9:00 pm[…] paper chalkboard on Amazon.com for a fun way to create a to-do list and these frames filled with butterflies and craft paper were a affordable way to add my own personal touch to the space. There’s also hanging […]